For when you really want that Horcrux dead...
I've been tinkering with a few projects recently but I managed to find time the other evening for a very quick project I've been meaning to tackle for some time: a recreation of the basilisk tooth from Harry Potter: The Chamber of Secrets. To find out how I created this and how to make your own, read on...
Reference
 |
| The noble collection licensed replica basilisk tooth is widely available |
There are a few different designs of tooth out there. The licensed replicas (much like a wizard's staff) all seem to have a knob on the end, whilst the actual props looked a bit more streamlined. As I tend to be more prop focussed I decided to go with the movie style tooth.
Wire frame
This piece needed to have a base that could stand up as I sculpted since laying it down or leaning it against something would leave a flat spot. For this reason I started by creating a wire rod I could slot down the centre of the tooth.
 |
| A simple base made from some twisted wire. |
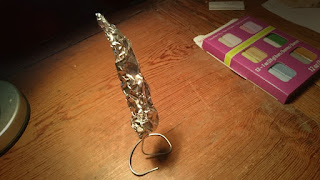
Tin foil
...then applied a layer of sculpy which I baked to give me a solid base. Sculpy is a polymer clay that you bake in the oven to harden, allowing you to work far more quickly than if you were using air hardening clay (a blessing for those of us with short attention spans).
I built up the form with a couple of layers of sculpy, baking between each.
Note: If you put anything in an oven it comes out hot. Let the clay and especially the metal wire it is formed around cool thoroughly before handling.
Note: If you put anything in an oven it comes out hot. Let the clay and especially the metal wire it is formed around cool thoroughly before handling.
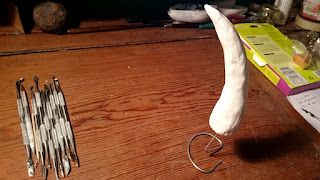
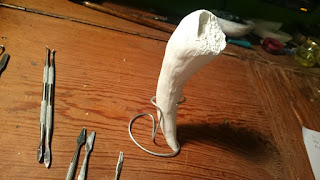
The final layer of sculpy I did in white as I thought it would look clean and be easy to paint. This was a mistake as it is nearly impossible to see form and detail on a pure white object! If I did this again I'd go for an off-white or neutral colour.
I refined the shape, evening out the surface and building the ridge around the root.
Using sculpting tools I scraped and poked holes into the root of the tooth to make it look porous.
Detailing
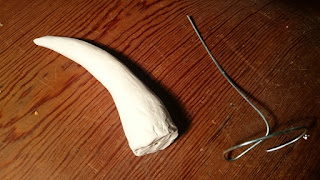
Once this had been baked a final time I used sandpaper to smooth the form...
Seal
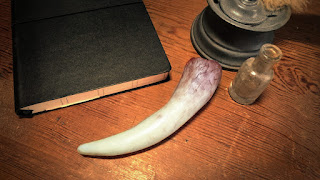
At this stage you could just paint the tooth and call it a day (in which case skip ahead to the paint section) however I wanted to cast a few in resin so my next step was to seal the sculpy with layer of spray paint. I used a can of green paint I had left over from my nerf pistol conversion.Molding
I'd had long think about the best way to cast the tooth. The problem area was going to be the detailed root which might trap air bubbles. I really needed this surface to be the lowest point in the mold, which meant I'd be pouring from the tip of the tooth. It also meant the entry point to the mold was going to be quite small and I'd probably need to cut a vent to allow air to escape and resin to enter freely.
With a plan in place I mounted the tooth, set up my mold box using foam board and hot glue, then poured in the silicone.
 |
| The tooth was supported from its tip as the box was constructed. |
 |
| The completed mold box. |
Cast
It was a little tricky cutting the tooth out of the mold but I managed to extract it.
 |
| A zig zag cut helps align the mold when it is used for casting. |
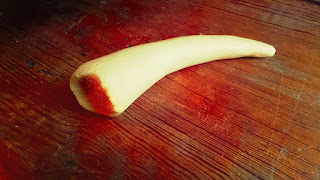 |
| The first cast from the mold. |
Having front loaded the effort in the planning and molding stage the casting was relatively straight forward. I did end up cutting a small vent in the edge of the silicone to allow the resin to drop into the mold quickly.
 |
| A small air channel cut into the mould. |
Paint
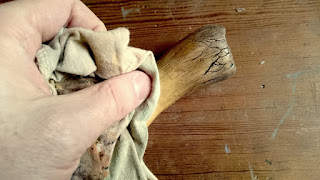
I used acrylics to stain the tooth, concentrating on the root, rubbing and smearing the paint with a cloth to keep the raised details relatively clean. I used browns, black and a little yellow ochre to match the look of the screen used prop. If you follow my method I recommend you make sure to let each layer of paint dry thoroughly otherwise you'll be rubbing off previous layers of paint when you apply the next.







No comments:
Post a Comment