So I saw Guardians of the Galaxy and absolutely loved it. As a surprise for my girlfriend I thought I would get her the Awesome Mix (yes, like most guys I buy my girlfriend things I secretly want) so had a quick Google for Guardians of the Galaxy merchandise, only to discover that they make a Starlord Nerf Gun! It’s lucky she didn’t get one of these instead of the CD I eventually bought! Anyway, I got to thinking, a little modification and a coat of paint and that toy could look pretty close to the gun from the movie… so I started looking into Nerf gun modification, one thing lead to another and before you know it I’m down the shops looking for cheap Nerf guns to try ideas on… Hello Nerf Mega Magnus!
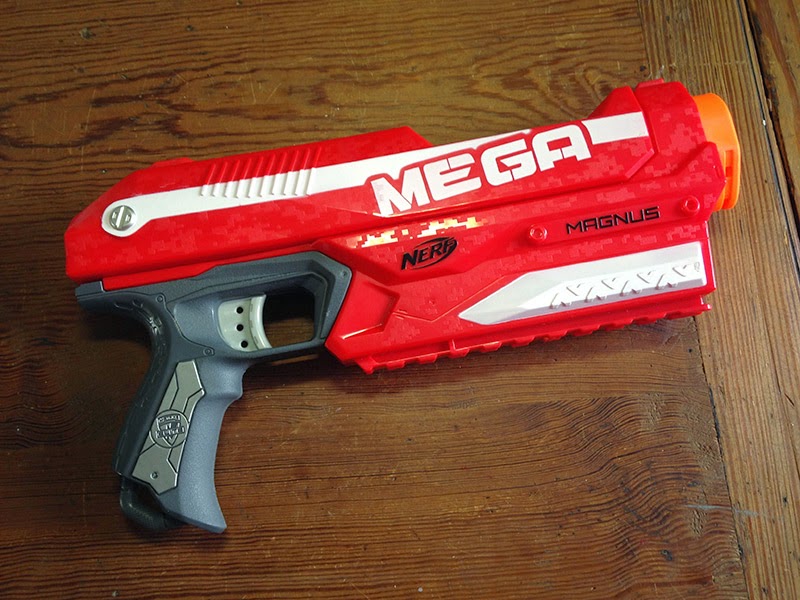 |
| The unadulterated Mega Magnus |
1. Planning
Not wanting to start without a solid plan I took some photos of the gun and used Photoshop to mock up a few ideas. In the end I decided to go with a utilitarian, military look, heavily inspired by the M1A1 Pulse rifles from Aliens :)
 |
| My initial designs, based on mods I'd seen and liked. |
2. Dismantling the gun
After removing a couple of screws and discovering each was a different length I decided I needed a system for keeping track of where each screw had originated. A wad of blutak and hastily scribbled diagram of the gun proved to be the solution to this problem.
I was also careful to take photographs of each part of the gun before I removed it so I had something to refer back to.
3. Surface preparation
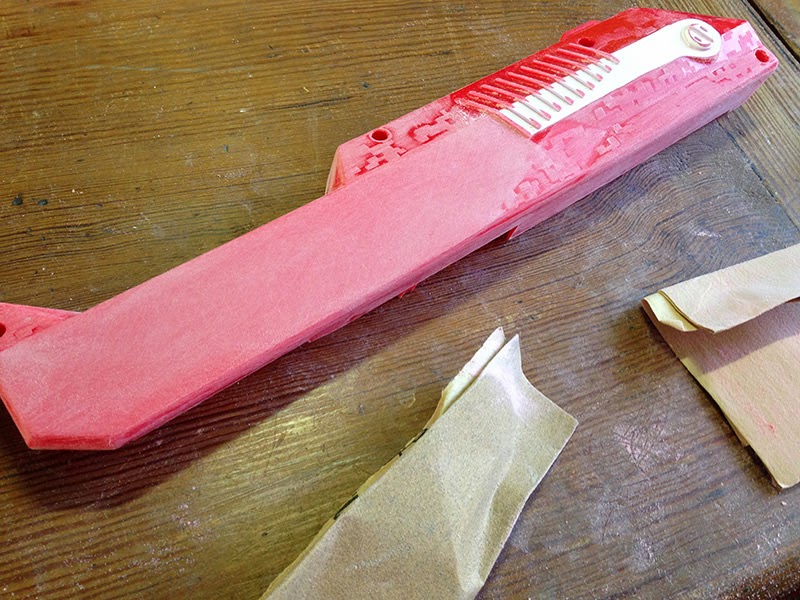
Once the gun was in pieces it was time for the hard work to begin. Every surface to which I was intending to apply paint needed a light sanding, plus I wanted to remove some of the surface detail like the Nerf logos, warning text and that nasty digital camo finish.
There’s no way around it, this is time consuming and requires quite a bit of elbow grease. I did wonder about getting my Dremel in on the action but I was concerned it might be difficult to maintain an even surface finish. The last thing I wanted was to have to have to smooth out damage caused by my clumsy use of power tools.
I tried to remove every trace of paint in case it affected the spray finish I was going to lay over the top.
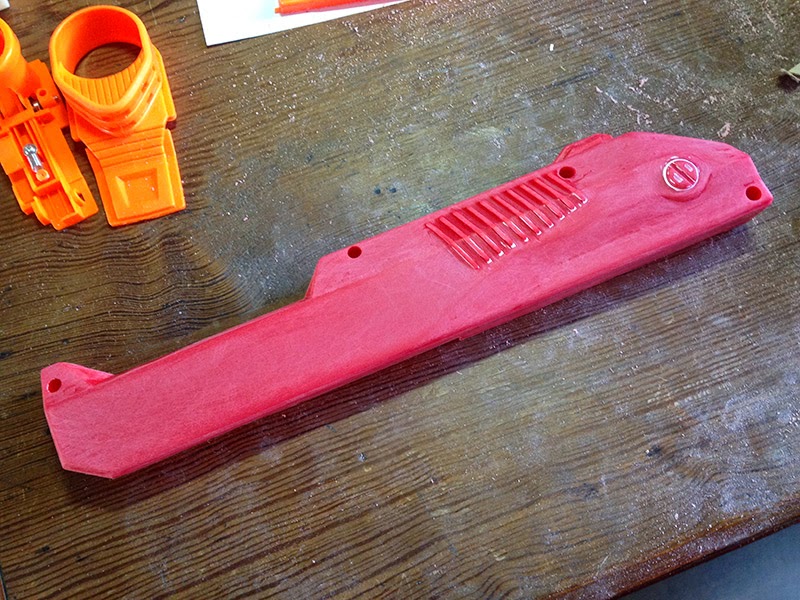 |
| Getting the paint out from the grips on the slide was not easy... |
Once it was all sanded I washed all of the pieces with warm soapy water to remove any traces of dust or grease.
4. Prime
The first layer I put down was a coat of grey plastic spray primer all over the gun. I was careful to mask areas like the trigger mechanism with tape and polythene bags to stop them getting gummed up. I wanted a working Nerf gun at the end of this after all :)
As well as being a great base to lay down the next coats it also helped highlight any surface imperfections I had missed in the sanding process. I took this opportunity to smooth them out then sprayed the surface back to grey again.
5. Base coat
Next I sprayed everything matte black. Some areas were tricky to work the paint into, but using multiple light coats and changing the angle of spray I was able to get a nice even base coat.
6. Colouring
I had decided the slide on top of the gun was to be green so in the absence of other options I purchased a can of plasticoat. I figured with a bit of weathering and some matte varnish it would look ok.
 |
| I used frogtape to mask off the areas of the handle. |
I wanted two tones of black on the body of the gun, but being a cheap skate I didn’t want to buy yet another can of spray paint. I masked out the areas I wanted to remain solid black then took my grey primer and lightly dusted the gun from a distance to try to keep the finish even.
7. Weathering
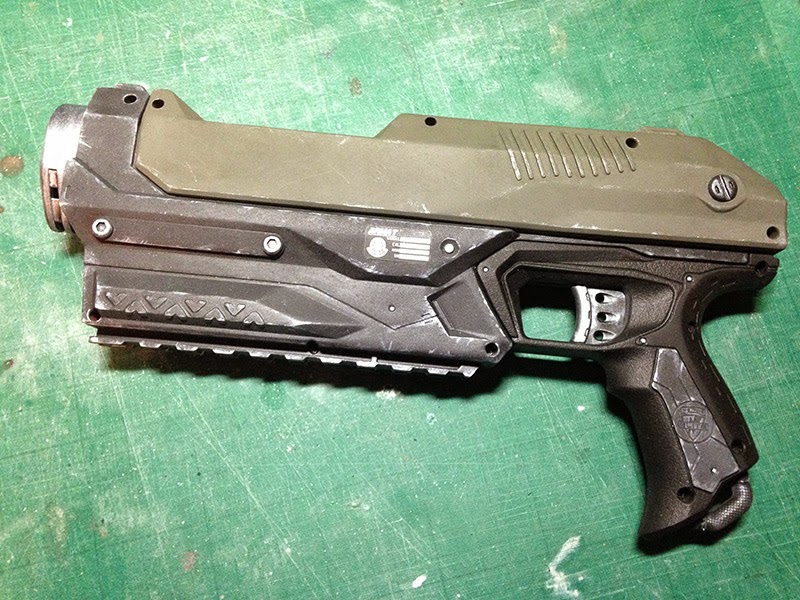
I had been unsure how much to weather the gun, in the end rather than dry brushing the whole body silver I lightly worked over the most prominent edges with a dry brush technique to simulate rubbed and scratched paintwork, then dabbed some pure silver selectively on the edges to simulate chipped paint and the clean metal beneath.
I also dotted the rivets in pure silver.
 |
| Look at that nasty green :P |
I decided I really hated the Plasticoat green so I had a look around. Turns out Halfords do a nice range of camo paints. The screw at the back of the slide I painted black and then lightly brushed some silver on to the high points.
 |
| That's so much better! |
I dirtied up the green somewhat with a brown/black mix of very watery acrylic brushed over the surface and wiped off repeatedly with a rag. I wanted to be careful not to over do it. Once this was done I went over the slide with the light dry brushing technique. I wanted to make it look used, not destroyed.
 |
| I kept the dirt layer fairly subtle |
8. Detail
The gun needed some detail to finish it off. I had wondered about stencilling some text on to it as per my original design, but it turned out the shape of the gun leave much appropriate space. I cut a mask anyway and gave it go… but really didn’t like it so I painted it out again. The diagonal grips on the slide really detracted from the striping idea so I ended up ruling that out too.
 |
| My unused mask, cut from frogtape. |
I did find a sticker I liked on an Aliens fan site however. I printed it on normal photocopy paper and glued it down with copydex. I wouldn't normally recommend copydex but I used it here as I felt safe it wouldn't react with the paint and the varnish would help seal it in all place.
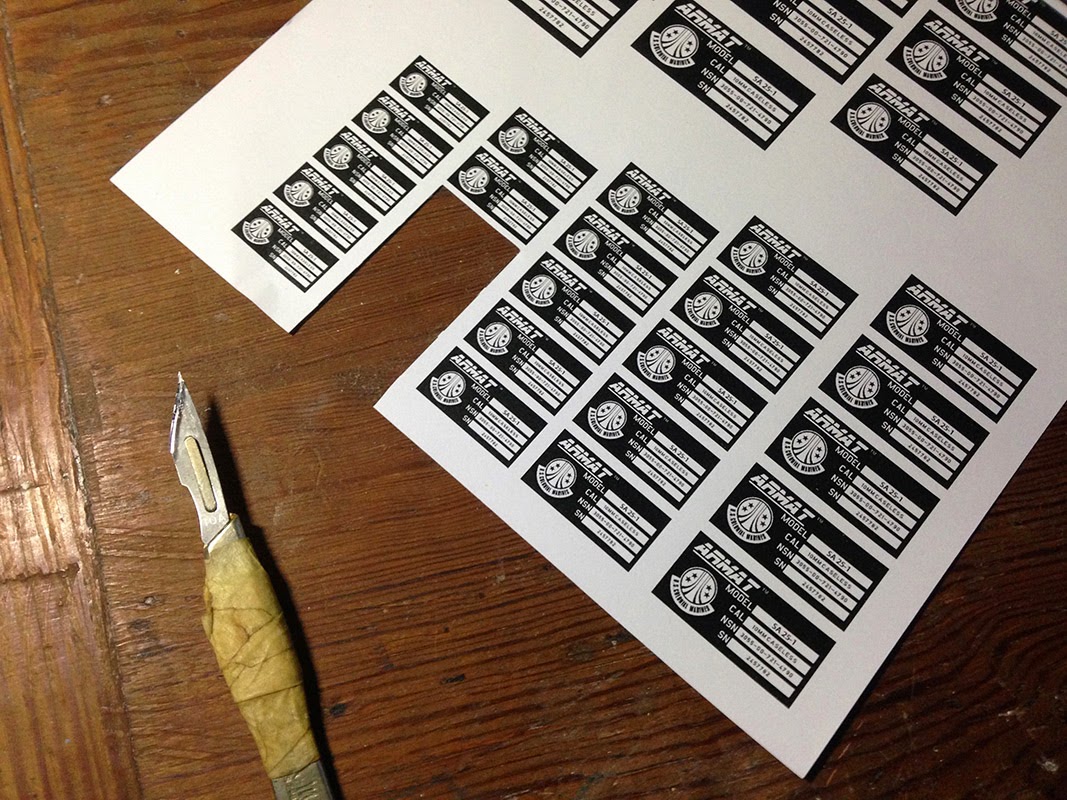 |
| Wasn't sure what size I needed so I printed a variety, just in case. |
9. Varnish
I bought two kinds of varnish for this project, a silk and a matte, both from the plasticoat range. The silk I intended to use for some of the metal finished areas, like the trigger and the internal barrel, the matte I used for all the rest. Both of these spray paints let me down. The silk wouldn’t work unless the can was held at an angle, and then it came out so fast it drowned the part I was spraying! I managed to rescue things by gently blowing the runs in the finish, smoothing them out and pushing the excess varnish into areas that would remain unseen.
The matte sprayed fine white particles all over the gun. I was able to carefully remove most of these after the paint was dry, but lesson learned, skip the plasticoat range and go straight to Halford’s :P
10. Reassembly
Reassembly proved relatively simple thanks to the copious photographs I took when dismantling the gun and the notes I took showing where each screw came from. I did discover a couple of areas I had assumed would be hidden that needed a coat of black to hide the original plastic, but overall the planning really paid off.
I think overall that was a fairly successful experiment. I see Halford’s have a vinyl paint that might be a better option for undercoating, the question is, do I crack straight on with Starlord’s gun or shall I have a go at modding a Nerf Rapidstrike? I reckon I could get it pretty close to a Colonial Marine’s M1A1 Pulse Rifle…





This comment has been removed by a blog administrator.
ReplyDeleteThis comment has been removed by a blog administrator.
ReplyDeleteThis comment has been removed by a blog administrator.
ReplyDeleteThis comment has been removed by a blog administrator.
ReplyDeleteThis comment has been removed by a blog administrator.
ReplyDeleteThis comment has been removed by a blog administrator.
ReplyDeletePainting Services Metrovancouver
ReplyDeleteMixue88 adalah link alternatif situs judi online yang dikenal gacor dan menyediakan banyak permainan slot unggulan dari provider ternama. mixue88
ReplyDeleteAt the point when your site or blog goes live interestingly, it is invigorating. That is until you understand nobody yet you and your. satta matka kalyan
ReplyDelete