As I may have mentioned in a previous blog post I was lucky enough to catch Guardians of the Galaxy at the cinema. Along with the overwhelming urge to steal false legs I was left feeling there was a Groot shaped hole in my life. I decided to fill this hole with clay and paint :D
It didn't take me long to dig up some
reference and I set to work.
1) Scale drawing
I used my reference to sketch out Groot at a size that fitted the only plant pots I could acquire at short notice.
2) Wire frame
Using this drawing as a base I bent up some garden wire to act as a rudimentary skeleton for little Groot. I created a coil at the bottom which fitted into the base of a plant pot and helped him stand upright whilst I worked.
Forgot to take a photo of this stage...
3) Tin foil
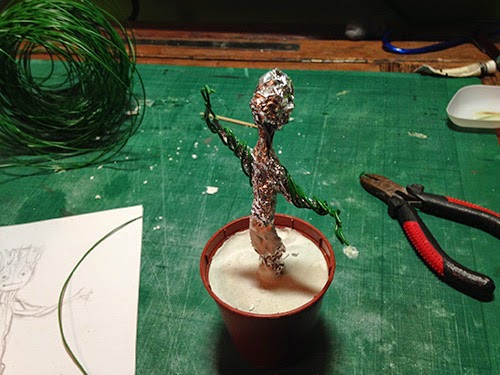
The skeleton then received a coat of tin foil to help build volume. The less clay there is on there, the quicker it dries and the lighter it is.
4) Plaster base
I plugged the holes at the bottom of the plant pot with a little plasticine then filled it with plaster, anchoring the wire skeleton in place. I also used some finer wire to refine the angle of the arms slightly and define the fingers.
5) Rough in clay
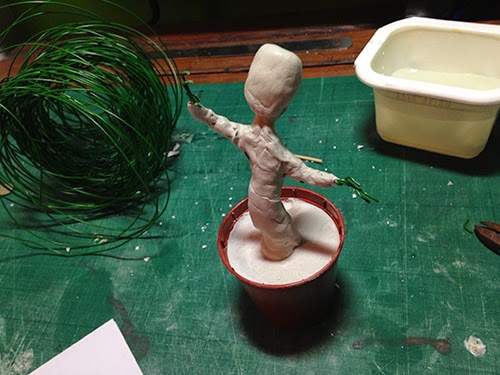
Once I was happy with this I added a thin coat of clay to the entire set up... then left it to dry because you can't work on top of wet Das. It really is rubbish, last time I'm going to use this stuff, need to find a decent alternative.
 |
| My incredibly tidy workspace... |
6) Sculpting
Over the next couple of days I started adding detail. Mostly this was thin rolls of clay twisting up Groot's body.
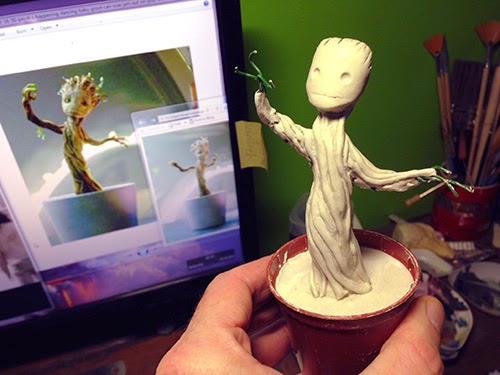 |
| Groot's a little tubby in this shot, I ended up carving that lump off his side. |
I wasn't sure what to do about his "hair" at first. I didn't know whether the Das would be strong enough to be self supporting when it was rolled into fine twiglets but I thought I'd give it a go. I ended up creating a load and bunching them together as much as possible so they helped support each other.
 |
| His 'hair' was built in layers from back to front |
 |
| I changed his face a lot as I worked, trying to capture the essential Groot. Clearly not there yet |
7) Detailing
I found some glass beads to use for eyes and refined the face some more. I also took his right arm off and rebuilt it. When he was pretty much done I took a fine tipped tool and ran some grooves into the dry clay of his face to simulate a wood texture (a spur of the moment thing but I'm really glad I did it).
 |
| You can see where I've taken his right arm off and am attaching some new wire. |
 |
| The finished sculpt. |
8) Paint
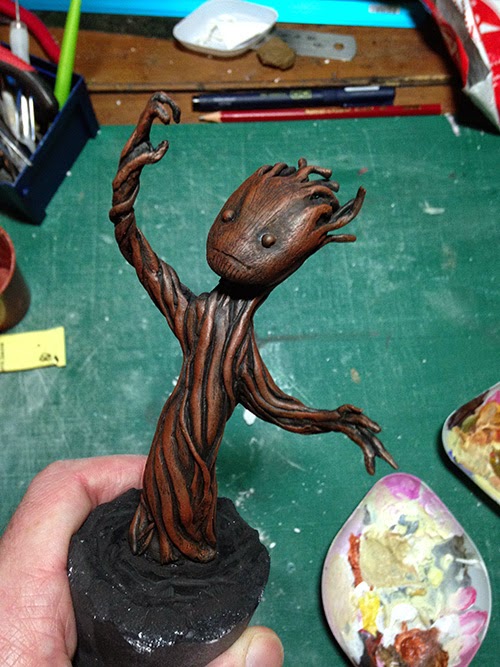
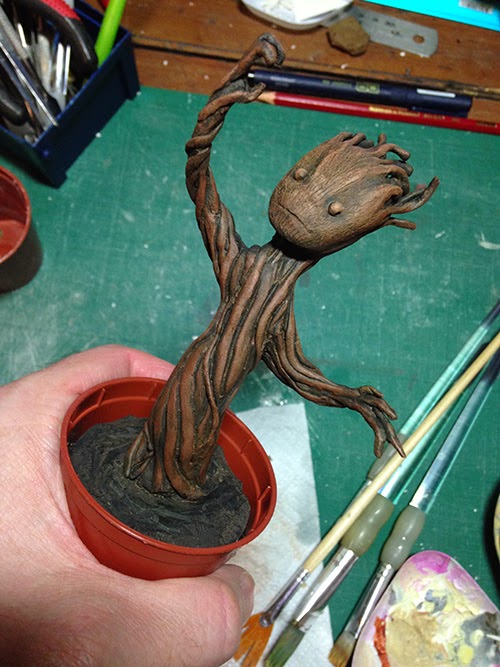
I sprayed him with matte black paint as a base, doing my best to work into all the nooks and crannies. This met with mixed success as it's pretty dark in the evenings at this time of year and I couldn't see what the hell I was doing. I ended up coating him with a layer of watered down dark brown/black acrylic to fill in the gaps.
Over this added a few layers of dry brushing, starting with a burnt umber and working through a variety of browns, greys and greens until I was happy with the result. Every time I felt he was getting too light I put a wash of umber over him to unify the colours, darken him up a bit and then I'd wait for that to dry and start dry brushing again.
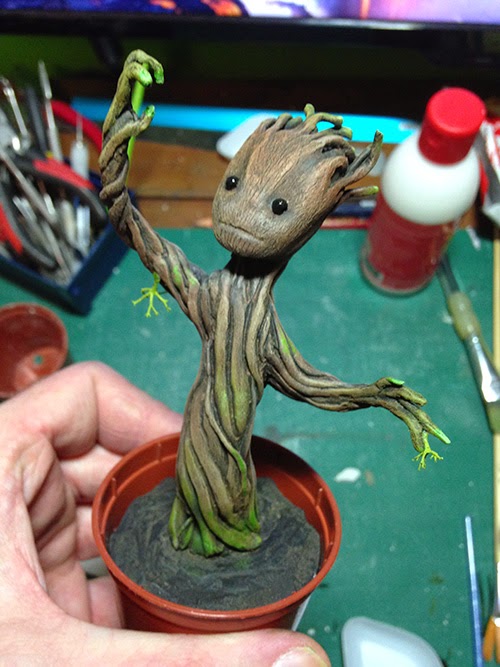
I painted the tips of his fingers and hair green where he was still growing and added a few patches of green to simulate mossy areas. Finally I put some gloss black on his eyes.
9) Glue moss
To recreate the small leafy sproutings I took some carefully chosen pieces of modellers' moss and attached them to him using PVA glue.
10) Base
For the base I crushed up some (clean) cat litter with dark brown paint, then PVA'd it onto the plaster. When it was dry I coated it with a layer of matte varnish to hold it all in place and take the shine off the PVA. Finally I brushed a some browns and greens across the gravel to visually connect Groot to his base and add a little life to it.
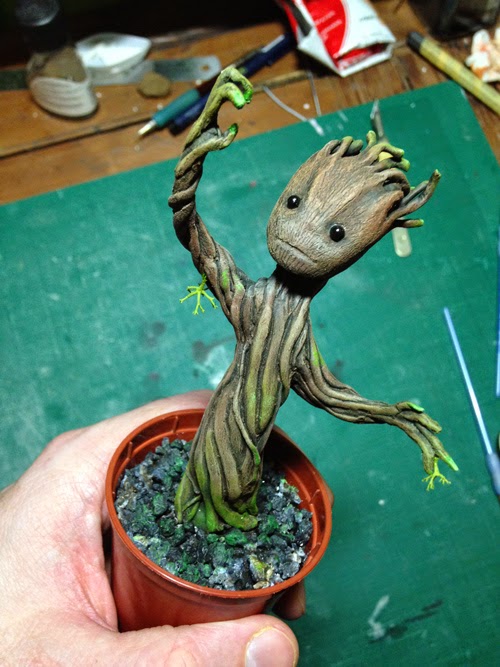 |
| The 'soil' is a bit washed out in the photo, looks far more fertile in person. |
 |
| The Drax look-a-like is my dad |
My life is complete! ;)




Painting Services Metrovancouver
ReplyDelete