... Hound of the Resurrection
I’m a huge Guillermo Del Toro fan and had been tinkering with a recreation of the Sammael artwork for a while. I’d not really put much thought into what I was going to do with it but when I started looking at woodblock printing for another project it seemed like the stars had aligned. As a gentle introduction to the intimidating and technical art of woodblock carving I thought I would put my Sammael artwork to good use and cut some lino...
Reference
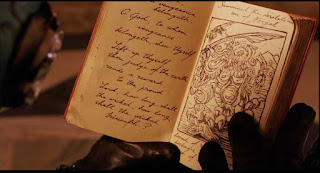
I wanted to reproduce the Sammael print seen in Professor Bruttenholm's book near the beginning of the first Hellboy movie. Some of the other prints have been widely published in art books and are now relatively easy to source, the only reference I could find for this one however was from the movie itself. I grabbed some high resolution screenshots of the appropriate sections from the Bluray version and loaded them into Photoshop for some clean up.
Clean up image
Obviously the biggest problem is that Abe is running his finger over the page during the relevant sequence so I had my work cut out for me patching in the missing information. It took me a while but I was able to stitch everything together to build a reasonably complete reference picture.
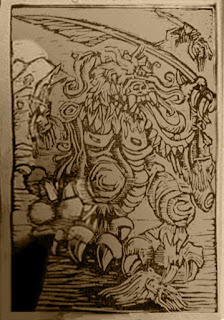 |
| I worked on a reversed copy of the image... for no good reason. |
Redraw
Once I had completed the clean up I traced the image using my wacom tablet, being sure to pay careful attention to line thickness.
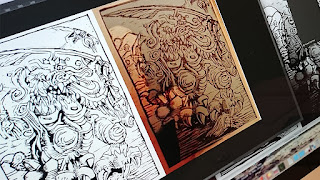 |
| It really helps to use a graphics tablet for jobs like this. |
Transfer to lino
Transferring a design onto lino is surprisingly easy. To start with you need to print the design (right way round) onto a sheet of paper using a toner based ink (like you get in most office printers). Place the paper face down on a block of lino, then rub the back with a rag soaked in acetone. Be careful not to over do this stage as the acetone can actually lift the ink back off the lino again. With any luck you should end up with your image appearing reversed on the lino block.
 |
| My transfer came through a little patchy so I drew the detail back in with a fine-liner. |
Cutting
I had bought a lino cutting kit that came with all of the required materials. I used a broad blade in the cutting tool to remove large areas from the block then used a finer V blade to refine the detail. This took a while.
** If you are going to try this, remember: always cut away from yourself **
 |
| This is about five hours into the process. |
 |
| Nearly there... |
Printing
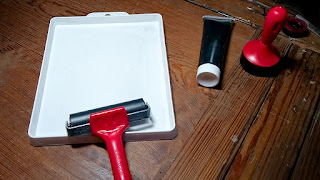
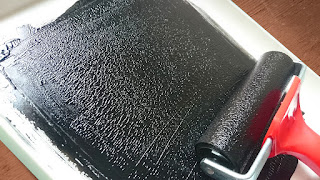
Ink was squeezed into the tray provided and spread with the roller. This was rolled about until it was even and tacky, then the roller was used to transfer an even coat to the block. Paper was lined up carefully over the corner of the block before being pressed down and the back rubbed firmly with the supplied tool.
After a few attempts it became apparent that getting an even print that preserved all of the fine detail was going to be tricky. I discovered that by holding down a corner of the paper I could carefully peel the print back and assess my progress. I could then replace it and rub down on the areas that needed a little more attention.
The finished prints
The original is printed in Bruttenholm's well-worn book on a plain, tatty page but I got it into my head that I wanted the prints on a high quality paper. I managed to get my grubby, ink-stained hands on some nice parchment. The texture of the paper made it slightly harder to get an even print but I managed to get a few successful impressions.
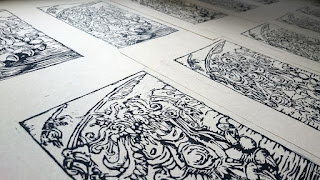 |
| So many Sammaels! |
Clean Up
Always important to look after your kit. I'm using a water based ink so my lino was wiped down with a damp rag, and all of my other equipment was cleaned in the sink then dried thoroughly.
Finishing Touches
I used my dip pen to copy Bruttenholms' notes to finish the design.
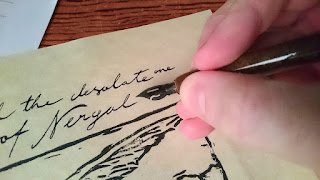 |
| Mmmm, my beautiful dip pen. |
The end result
Whilst I liked the prints I had run on the parchment paper, I wasn't happy with the inconsistent quality so I went back and rolled out some more prints on a hand made rag paper. This was much more successful. Now if I could just find a nice way of presenting them I'd be tempted to do a run...






No comments:
Post a Comment